Setting up Projects in Cypress
In this tutorial, you will learn how to setup a project on the test runner. As a prerequisite, you must have installed the Test Runner and opened it.
Cypress gives you the ability to record your project’s tests, test records are usually done when you are running your tests in Continuous Integration, but you can record your tests when you are running them locally as well.
Setup
If you want to set up a project to record, you will need to use the test runner, as stated in the introduction in order to do this, you must have installed and opened the Test Runner. (Note: by install we don’t mean the direct download.
Set up a project to record
Here are the steps to setting up a project in cypress.
- You will need to click on the Runs tab of your project within the Test Runner
- The next step will be to click “set up project to Record”
- To record your test, you will need to log in to the Cypress Dashboard.
- Then fill in the name of your project (This is just required for display purposes, you can edit the name later)
- Set the ownership of the project. It is either you select that you own it personally or you set it to belong to an organization that you have created.
- You should choose whether the project is a public or private project.
- Click on the Setup Project button
- Once you are done with the previous step, you should see a view that explains how you should record your first run.
- You will be given a unique projectId which you should add into your cypress.json file. if you are using a source control check this file into source control.
- If you are using CI you can either pass the displayed Record key while running the cypress run command by
- Providing the record key like so: cypress run --record --key <record key> or by
- Setting the record key directly
'''export CYPRESS_RECORD_KEY=<record key>'''
'''cypress run -record'''
This is also applicable if you are running Cypress on your local terminal. However, if you are using the windows Operating System, we recommend that you run the cypress run command from the script section of the package.json file.
'''"scripts": {
    "test": "cypress open",

    "record": "cypress run --record --key xxxxxxxxxxxxxxxxxxxxxxxxx"

 }'''
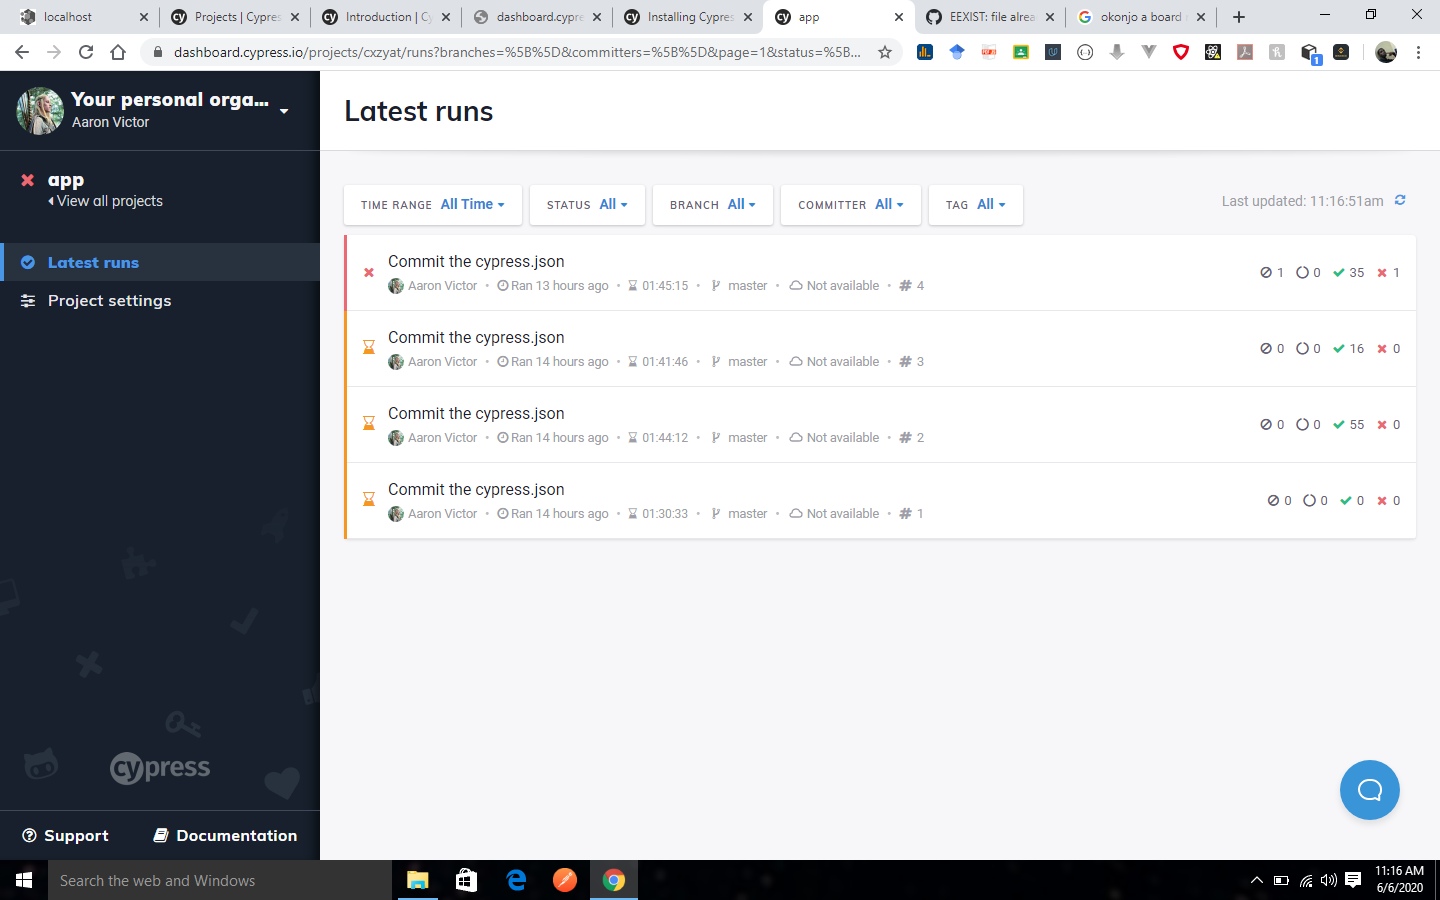
Your test should start recording, now you will be able to see them on the Dashboard and in the Runs tab of the Test Runner.

Identification
Cypress will use both the projectId and the Record Key to identify your projects uniquely.
Project ID
Immediately you set up your project for recording, Cypress will generate a unique projectId for your project and insert it automatically into your cypress.json file.
The projectId is a six character string that is in your cypress.json file.
The projectId helps Cypress to uniquely identify your project. If you alter this manually, Cypress will no longer identify your project, nor will it find the recorded builds for your project.
You should check the cypress.json file into source control if you are using source control. You should set projectId as environment variable with the name CYPRESS_PROJECT_ID, if you don’t want the project id to be visible in your source code.
To do that run:
'''export CYPRESS_PROJECT_ID={projectId}'''
Record key
You need the record key in order to authenticate that your project is allowed to record tests to the Dashboard Service. As long as you keep this key private, you will be the only one that will be able to record test runs for your project. You can view the keys as the key that will enable you to write and create runs. However it doesn’t have anything to do with being able to read and see run once they are recorded.
A record key is a GUID that will look like this: e4466038-70c2-4688-9ec9-106bf013cd45. In cypress, you will be able to create multiple Record Keys for a project. You can also delete existing ones from the Dashboard.
Your Record Keys can be found inside of the Settings tab in the Test Running.
Record Keys
We have a dedicated section for Record Key that gives a full description of how the record keys are used.
Create new record key
- Go to your organization’s projects page.
- Select the project you want to change access to.
- Go to the project’s Settings page.
- Here you will see a Record Keys section
Delete record key
- Go to the project page of your organization.
- Select the project that you want to change access to.
- Go to the project’s Settings page.
- Here you will see a Record Keys section
- Click Delete beside the record key you want to delete.
Parallelization settings
Run completion delay
You can edit the number of seconds that a run waits for new groups to join before transitioning to completed.
GitHub Integration
You can integrate your project with GitHub and edit its settings from the settings settings page of your project.
Slack Integration
You can integrate your project with Slack and edit its settings from the settings settings page of your project.
Access to Runs
If you want to see who has access to the project’s run, visit the project setting on the Dashboard.
Transfer Ownership
It is also possible to transfer the ownership of your project to another organization. You can only transfer ownership of a project from the Dashboard Service.
- Select your organization in the organization switcher.
- Select the project you wish to transfer.
- Go to the project’s Settings page.
- Scroll down to the Transfer Ownership section and click Transfer Ownership.
- Select the user or organization, then click Transfer.
You can cancel transfer of project. Also, the organization that you transferred the project has the option of accepting or rejecting the transferred project.
Finally, You can delete a project that belongs to you.
