MySQL ODBC Connector
ODBC Connector
MySQL ODBC drivers provide access to a MySQL database in a heterogeneous environment using the industry standard Open Database Connectivity (ODBC) API. MySQL Connector/ODBC provides both driver-manager based and native interfaces to the MySQL database, with the full support of MySQL functionality, including stored procedures, transactions and, with Connector/ODBC 5.1 and higher, full Unicode compliance. The following section describes how to install, configure, and develop database applications using MySQL Connector/ODBC in Windows, Linux, Mac OS X, and Unix platforms
Windows
Before installing the Connector/ODBC drivers on Windows :
- Make sure your Microsoft Data Access Components (MDAC) are up to date. Download the latest version from Microsoft Data Access and Storage.
- Make sure you have the Microsoft Visual C++ 2010 Redistributable Package installed on your system. Download the latest version from Microsoft Download Center.
Download Connector/ODBC :
You can download the latest version of Connector/ODBC binaries and sources from the following website :
http://dev.MySQL.com/downloads/connector/odbc/.
Binary or Source Installation Method :
You can install the Connector/ODBC drivers using two different methods, binary installation or source installation. The binary method is easy which is a bundle of necessary libraries and other files pre-built, with an installer program. The source installation method is important where you want to customize or modifies the installation process or for those platforms where a binary installation package is not available.
Installing the Windows Connector/ODBC Driver:
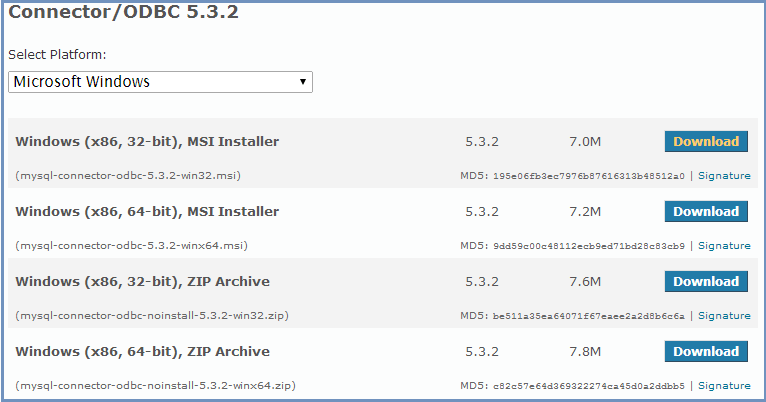
Select and download the zipped or MSI installer packages from http://dev.MySQL.com/downloads/connector/odbc/ as per your requirement. The basic installation process is same for both installers.
Now follow the following steps :
Step -1:
Double click the installer (here it is 'MySQL-connector-odbc-5.3.2-win32.msi')
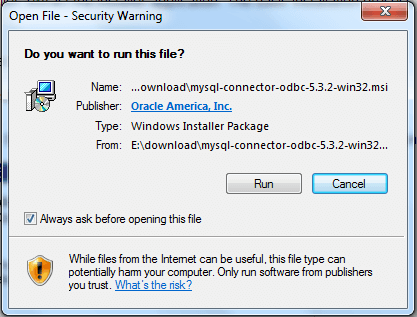
Click on 'Run'.
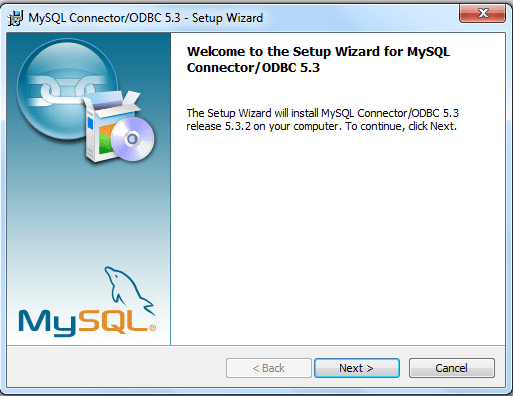
Step -2:
This is the Setup Wizard for MySQL Connector/ODBC 5.3, Click 'Next'.
Step -3:
License agreement : Read the license agreement, either accept or deny.
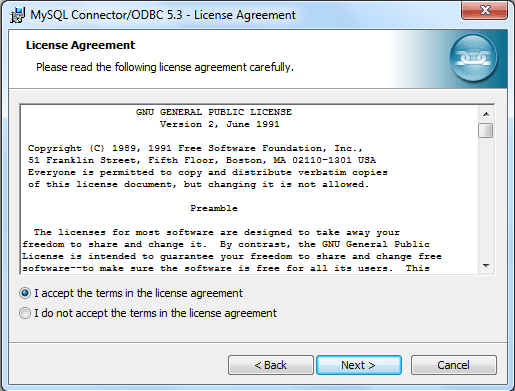
Accept the terms of the license agreement.
Step -4:
Select 'Typical', 'Complete' or 'Custom' as per your requirement.
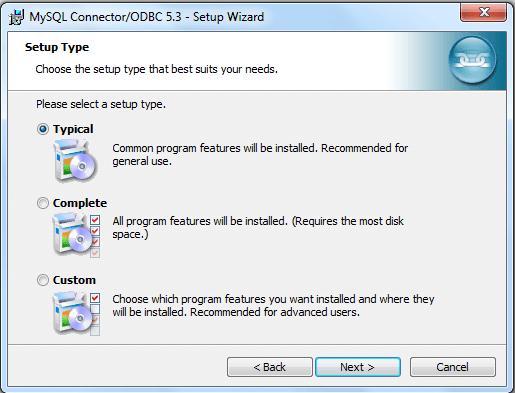
Select 'Typical' and click 'Next'.
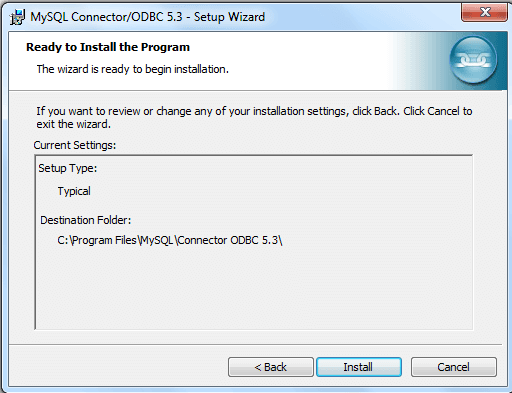
Step -5:
Now the wizard is ready to begin the installation. Click on 'Install'.
Step -6:
Click on 'Finish' to complete the process.
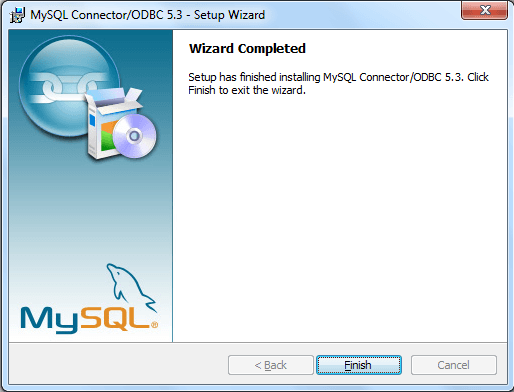
The installation process has completed, now we will configure the ODBC connections.
Step-1: On the Start menu (windows 7), choose Control Panel\System and Security\Administrative Tools, and then click Data Sources (ODBC).
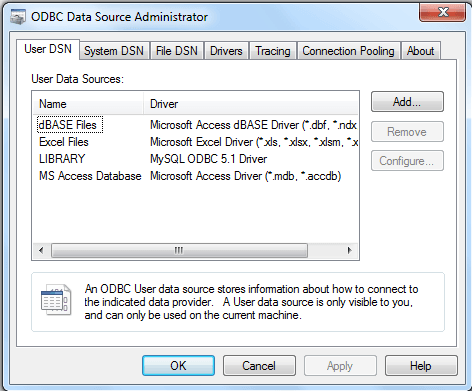
Step-2: Click on 'add ' and select MySQL ODBC 5.3 ANSI Driver

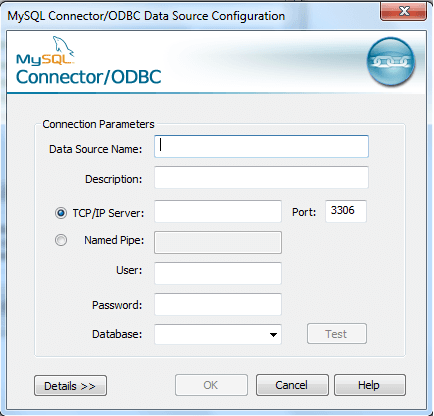
Step-3: Now you need to configure the specific fields for the DSN you are creating through the Connection Parameters dialog.
- Data Source Name : Input a valid name of the data source to access.
- Description : Input some text to identify the connection.
- TCP/IP Server : Input the name of the MySQL server host to access. By default, it is localhost.
- User: Input the user name to use for this connection.
- Password: Input the corresponding password for this connection.
- Database: The database pop-up should automatically populate with the list of databases that the user has permissions to access.
- Port: To communicate over a different TCP/IP port than the default (3306).
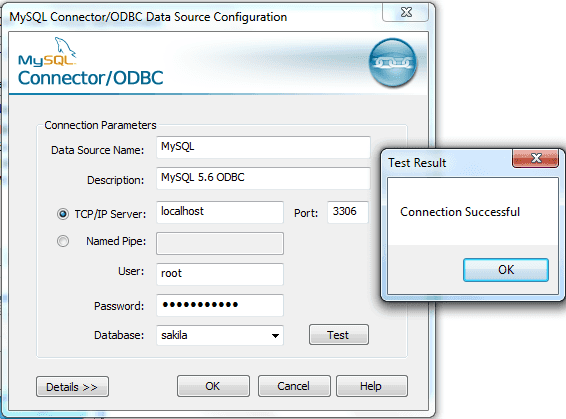
Step-4: Now input the valid data in specific fields and click on 'Test' button to test the connection.
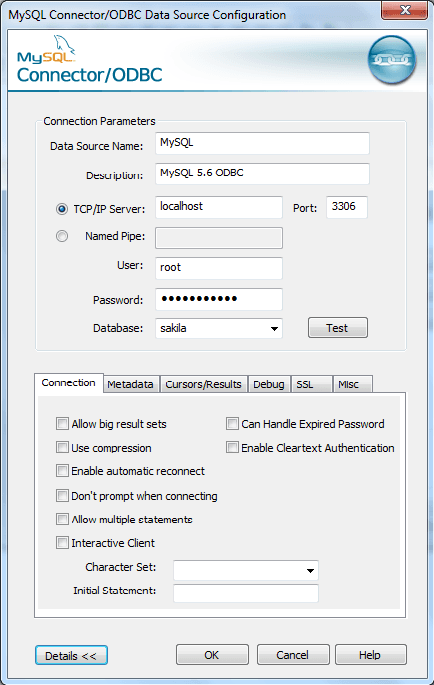
Step-5: You can configure a number of options for a specific DSN by using the 'Details' button.
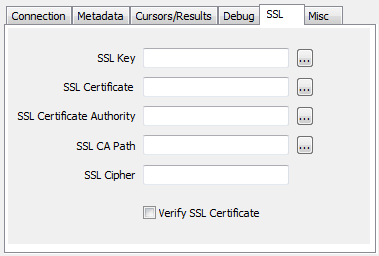
To use Secure Sockets Layer (SSL) when communicating with MySQL server you must specifiy the following additional information.
Example: Using Connector/ODBC with Microsoft Word, Excel or Access
You can use Microsoft Excel, Word to access information from a MySQL database using ODBC. Within Microsoft Excel or Word there are facilities to import data from MySQL database. See the following example.
Step-1: Be sure that your MySQL server is running. Here we are using MySQL 5.6.
Step-2: Create a new worksheet. Here we are using Microsoft Office Excel 2007.
Step-3: From the Data menu, click on 'From other sources' then click on 'Data Connection Wizard', the following window will come :
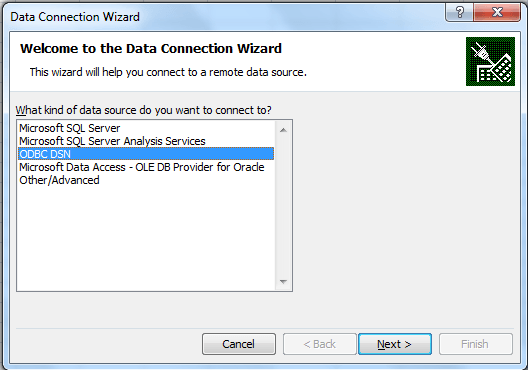
Select 'ODBC DSN' and Click 'Next'
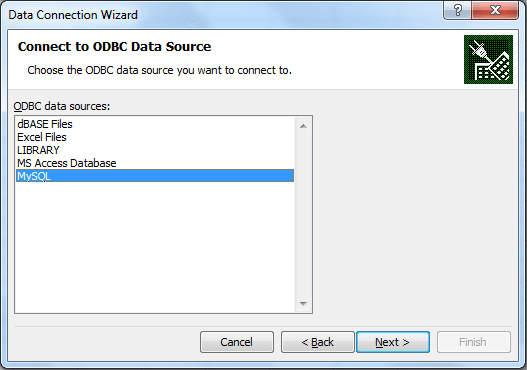
Step-4: From ODBC data sources select 'MySQL' and click 'Next'
Step-5: Now select databases and tables.
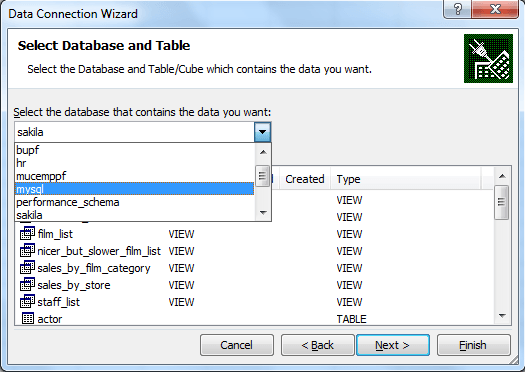
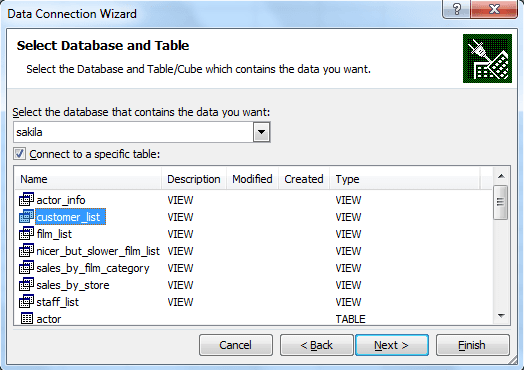
Step-6: Let select database 'sakila' and 'customer_list' table and click 'Next'.
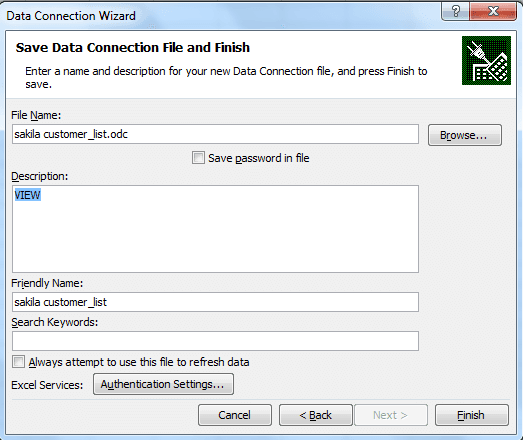
Step-7: Input a name and description for your new Data Connection, and press 'Finish' to save.
Step-8: Select how you want to view this data in your workbook (e.g. Table, PivotTable Report etc).
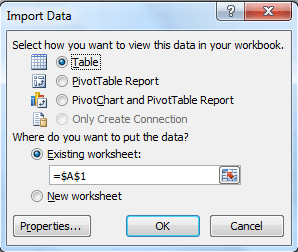
Let select 'Table'.
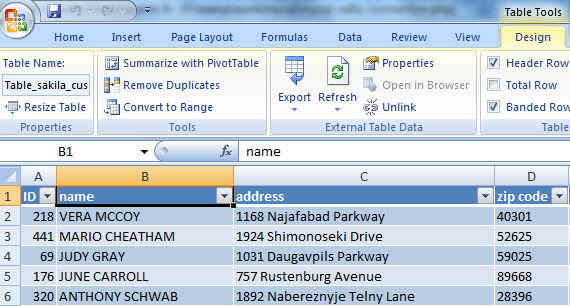
Output (partial data):
PREV :
MySQL Connector and APIs Introduction
NEXT :
MySQL Python Connector