Python PyQt program - Image viewer
Write a Python program that builds an image viewer application that displays images using PyQt. Allow users to change the image by clicking "Previous" and "Next" buttons.
From doc.qt.io:
QApplication Class: The QApplication class manages the GUI application's control flow and main settings.
QMainWindow Class: The QMainWindow class provides a main application window.
QWidget: The QWidget class is the base class of all user interface objects.
QVBoxLayout Class: The QVBoxLayout class lines up widgets vertically.
QLabel Class: The QLabel widget provides a text or image display.
QPushButton: The push button, or command button, is perhaps the most commonly used widget in any graphical user interface. Push (click) a button to command the computer to perform some action, or to answer a question. Typical buttons are OK, Apply, Cancel, Close, Yes, No and Help.
QPixmap Class: The QPixmap class is an off-screen image representation that can be used as a paint device.
Qt module: PyQt5 is a set of Python bindings for the Qt application framework. It allows us to use Qt, a popular C++ framework, to create graphical user interfaces (GUIs) in Python.
Sample Solution:
Python Code:
import sys
from PyQt5.QtWidgets import QApplication, QMainWindow, QWidget, QVBoxLayout, QLabel, QPushButton
from PyQt5.QtGui import QPixmap
from PyQt5.QtCore import Qt

class ImageViewerApp(QMainWindow):
    def __init__(self):
        super().__init__()

        # Set the window properties (title and initial size)
        self.setWindowTitle("Image Viewer")
        self.setGeometry(75, 75, 300, 200)  # (x, y, width, height)

        # Create a central widget for the main window
        central_widget = QWidget()
        self.setCentralWidget(central_widget)

        # Create a QLabel for displaying images
        self.image_label = QLabel()
        self.image_label.setAlignment(Qt.AlignmentFlag.AlignCenter)

        # Create "Previous" and "Next" buttons
        previous_button = QPushButton("Previous")
        next_button = QPushButton("Next")

        # Load images and initialize image index
        self.image_paths = ["image1.png", "image2.png", "image3.png"]
        self.image_index = 0
        self.load_image()

        # Connect button clicks to navigation methods
        previous_button.clicked.connect(self.previous_image)
        next_button.clicked.connect(self.next_image)

        # Create a layout for the central widget
        layout = QVBoxLayout()
        layout.addWidget(self.image_label)
        layout.addWidget(previous_button)
        layout.addWidget(next_button)

        # Set the layout for the central widget
        central_widget.setLayout(layout)

    def load_image(self):
        # Load and display the current image
        if 0 <= self.image_index < len(self.image_paths):
            image_path = self.image_paths[self.image_index]
            pixmap = QPixmap(image_path)
            self.image_label.setPixmap(pixmap)

    def previous_image(self):
        # Show the previous image
        if self.image_index > 0:
            self.image_index -= 1
            self.load_image()

    def next_image(self):
        # Show the next image
        if self.image_index < len(self.image_paths) - 1:
            self.image_index += 1
            self.load_image()

def main():
    app = QApplication(sys.argv)
    window = ImageViewerApp()
    window.show()
    sys.exit(app.exec_())

if __name__ == "__main__":
    main()
Explanation:
In the exercise above -
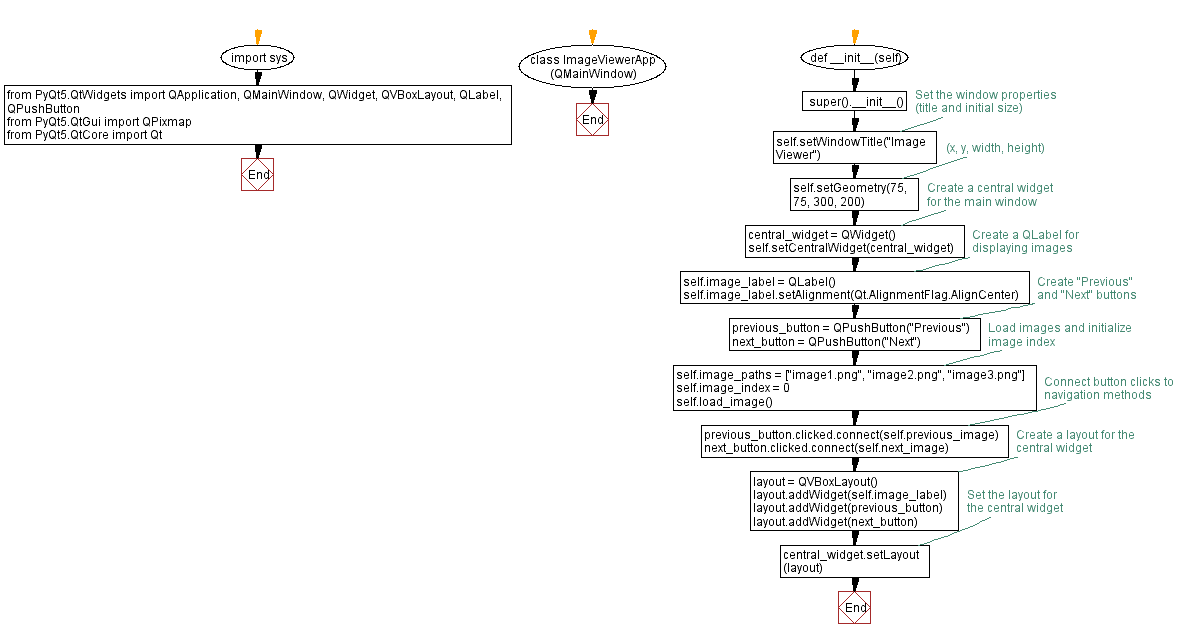
- Import the necessary modules.
- Create a "QMainWindow" named "ImageViewerApp" with a central widget.
- Set the window's title and initial size.
- Create a "QLabel" widget (image_label) for displaying images and align it to the center.
- Create "Previous" and "Next" buttons and connect their click events to methods (previous_image and next_image) for navigation.
- Define a list of image file paths ('image_paths') and initialize the image index ('image_index') to 0.
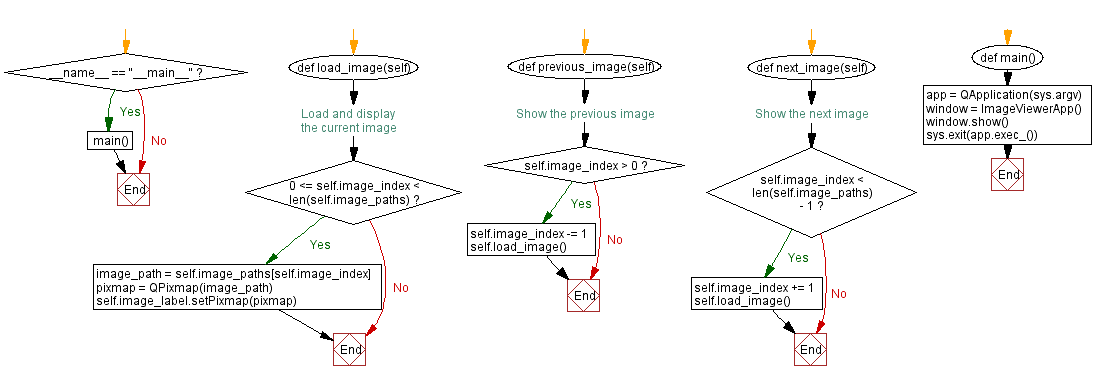
- The "load_image()" method loads and displays the current image based on the current index.
- The "previous_image()" and "next_image()" methods update the image index to navigate through the images and load the corresponding image.
- In the main function, we create the PyQt application, create an instance of the "ImageViewerApp" class, show the window, and run the application's event loop.
Output:
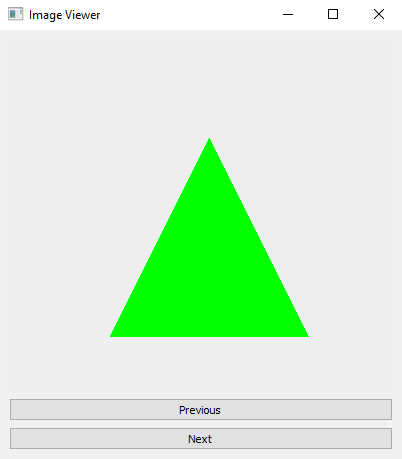
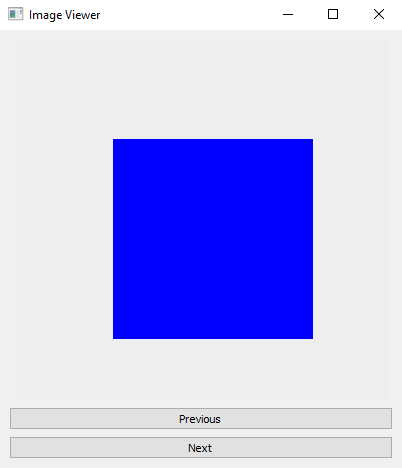
Flowchart:
Go to:
Previous: Customize appearance.
Next: Temperature converter.
Python Code Editor:
What is the difficulty level of this exercise?
Test your Programming skills with w3resource's quiz.