Python PyQt5 window with multiple widgets and layouts
Write a Python program that creates a window with multiple widgets using vertical and horizontal layouts. Use PyQt module.
From doc.qt.io:
QApplication Class: The QApplication class manages the GUI application's control flow and main settings.
QMainWindow Class: The QMainWindow class provides a main application window.
QLabel Class: The QLabel widget provides a text or image display.
QPushButton: The push button, or command button, is perhaps the most commonly used widget in any graphical user interface. Push (click) a button to command the computer to perform some action, or to answer a question. Typical buttons are OK, Apply, Cancel, Close, Yes, No and Help.
QVBoxLayout Class: This class is used to construct vertical box layout objects.
QHBoxLayout Class: The QHBoxLayout class lines up widgets horizontally .
QWidget: The QWidget class is the base class of all user interface objects.
Sample Solution:
Python Code:
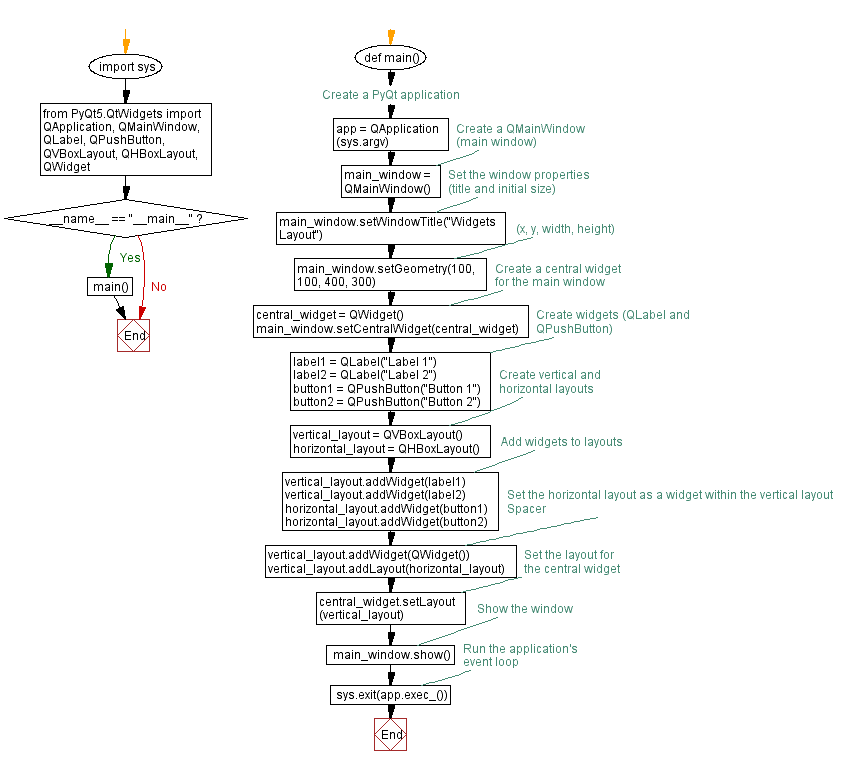
import sys
from PyQt5.QtWidgets import QApplication, QMainWindow, QLabel, QPushButton, QVBoxLayout, QHBoxLayout, QWidget

def main():
    # Create a PyQt application
    app = QApplication(sys.argv)

    # Create a QMainWindow (main window)
    main_window = QMainWindow()

    # Set the window properties (title and initial size)
    main_window.setWindowTitle("Widgets Layout")
    main_window.setGeometry(100, 100, 400, 300)  # (x, y, width, height)

    # Create a central widget for the main window
    central_widget = QWidget()
    main_window.setCentralWidget(central_widget)

    # Create widgets (QLabel and QPushButton)
    label1 = QLabel("Label 1")
    label2 = QLabel("Label 2")
    button1 = QPushButton("Button 1")
    button2 = QPushButton("Button 2")

    # Create vertical and horizontal layouts
    vertical_layout = QVBoxLayout()
    horizontal_layout = QHBoxLayout()

    # Add widgets to layouts
    vertical_layout.addWidget(label1)
    vertical_layout.addWidget(label2)
    horizontal_layout.addWidget(button1)
    horizontal_layout.addWidget(button2)

    # Set the horizontal layout as a widget within the vertical layout
    vertical_layout.addWidget(QWidget())  # Spacer
    vertical_layout.addLayout(horizontal_layout)

    # Set the layout for the central widget
    central_widget.setLayout(vertical_layout)

    # Show the window
    main_window.show()

    # Run the application's event loop
    sys.exit(app.exec_())

if __name__ == "__main__":
    main()
Explanation:
In the exercise above -
- Import the necessary modules from PyQt5.
- Create a "QApplication" object to manage application control flow and settings.
- Create a "QMainWindow" object for the main application window and set its title and initial size.
- Create a central widget (a QWidget) to hold our other widgets.
- Create two labels and two buttons as widgets.
- Create both vertical (QVBoxLayout) and horizontal (QHBoxLayout) layouts.
- Add the labels to the vertical layout and the buttons to the horizontal layout.
- Add a spacer (QWidget()) to the vertical layout to separate the labels and the buttons.
- Add the horizontal layout to the vertical layout, effectively nesting them.
- Finally, we set the central widget layout and show the main window.
Output:

Flowchart:
Go to:
Previous: Python PyQt5 basic application with widgets.
Next: Creating a text display application with PyQt.
Python Code Editor:
What is the difficulty level of this exercise?
Test your Programming skills with w3resource's quiz.